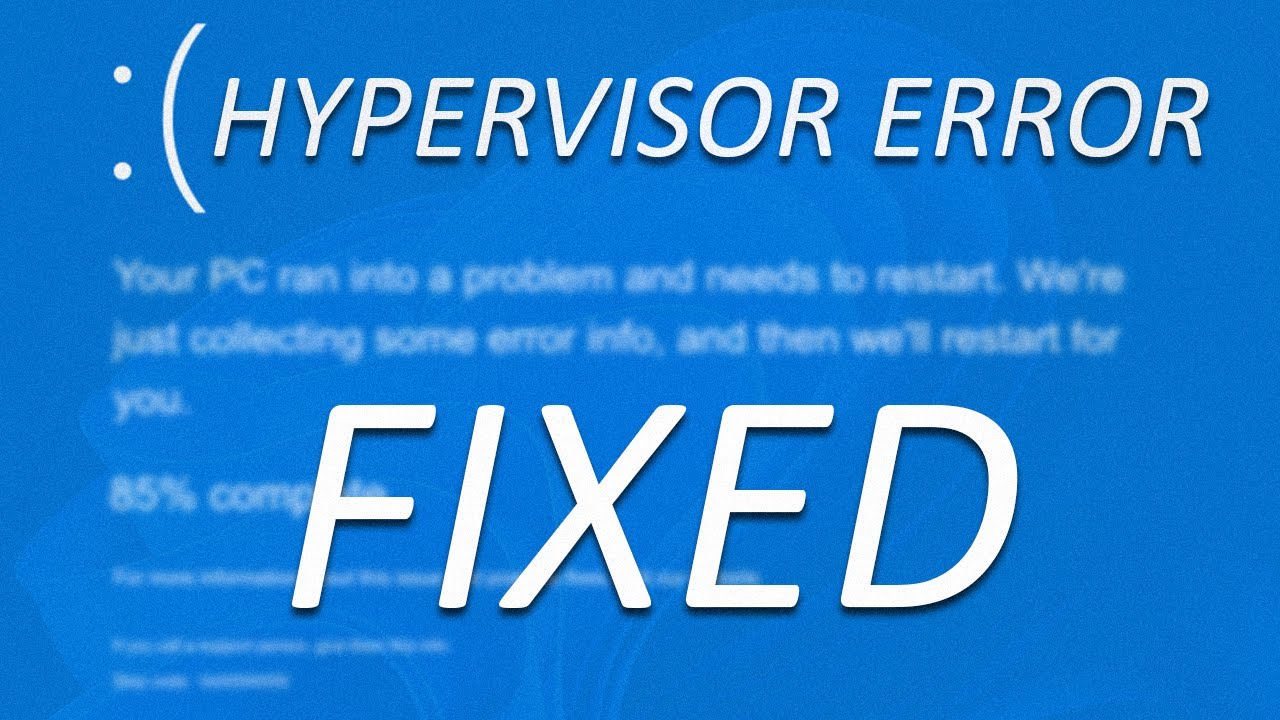
Windows 11 users might encounter a scary-looking blue screen error with the message “Hypervisor Error”.
Don’t panic! This article explains what it is, why it happens, and how to fix it.
What is a Hypervisor Error?
The Hypervisor Error, also known as bug check value 0x00020001, indicates a problem with the Hypervisor, a core Windows component that manages virtual machines. It can occur due to various reasons, causing your computer to unexpectedly restart.
Understanding the 5 Causes of Hypervisor Error
Several factors can trigger the Hypervisor Error, such as:
Outdated or Incompatible Device Drivers
Drivers are like mini-programs that allow your hardware to communicate with Windows. Outdated or conflicting drivers can create issues with Hypervisor.
Corrupted System Files
Damaged system files can disrupt vital Windows functions, including Hypervisor.
Overclocking
If you are trying to push your CPU or RAM beyond their recommended limits, then it might cause instability which would trigger the error.
Conflicting Software
Third-party antivirus or virtualization programs can sometimes clash with Hypervisor.
Hardware Problems
In rare cases, faulty hardware like RAM or your motherboard can be the culprit.
4 Methods for Fixing the Hypervisor Error
Now that you know the culprits, let’s fix the problem:
Method 1: Check for System Virtualization Support
- Press the Windows key + R.
- Type msinfo32 and press Enter.
- Under Hypervisor Launch Type, it should say “Yes” for virtualization support. If not, your system might not have the capability.
Method 2: Update Device Drivers and Windows
- Open Settings > Update & Security > Windows Update.
- You have to select the option Check for updates and if any updates are available then install them.
- Next, you have to right-click the Start button and proceed to select the option Device Manager.
- Update drivers for all devices, especially chipset, display, and network adapters. You can right-click each device and choose to select the Update Driver option. Then, choose the option Search automatically for updated driver software.
Method 3: Use Command Prompt (Administrator)
- You have to right-click the Start button and select the option Command Prompt (Administrator).
- You need to type the following commands one by one, pressing Enter after each:
sfc /scannow
DISM /Online /Cleanup-Image /RestoreHealth
- These commands will help you to scan and repair the corrupted system files. Finally, restart your computer afterward to verify whether the error has been fixed.
Method 4: Restart the Corresponding Service
- You have to press the Windows key + R key at the same time.
- Next, type services.msc and press the Enter key.
- Find Windows Hypervisor Platform and Microsoft Hypervisor Management.
- Right-click each service and select Restart.
Additional Tips
- If none of these methods work, consider disabling overclocking, temporarily uninstalling third-party antivirus software, or performing a system restore to a point before the error starts.
- If you suspect hardware issues, run a hardware diagnostic tool provided by your manufacturer.
- Data recovery software can help retrieve lost files from virtual machines or crashed hard drives. Research reputable tools compatible with your system.
Conclusion
While encountering the Hypervisor Error can be unsettling, understanding its causes and following these methods should help you resolve it and get back to using your Windows 11 smoothly. Remember, if the issue persists, consider seeking professional help from a technician.